
To begin any specific video analysis I first had to do some research into what the codes and conventions of a promotional video are. These conventions seemed to broken into 3 main groups: Technical, symbolic and written/audio.
Technical Aspects would include all camera techniques. For example, popular shot types would include establishing shots of the building/area/item the video is promoting, montage sequences are also fairly common for this type of production.
By Symbolic, I mean how the film maker uses the miss-en-scene to aid the purpose of the video, this could be anything from the colour of clothing/text or if structured interviews are used then items placed in the frame around the interviewee may be considered.
Written and Audio conventions would consider aspects such as ensuring appropriate music is used. other (non)diegetic sound, perhaps a voice-over, are quite common, giving an effective way to get across necessary information in the short time the video runs for. Interviews are very popular, this gives the audience a first hand view of the product/place, again an effective way to get across information.
Promotional videos often use screen graphics, telling the audience who is speaking or statistic about company/product etc.
Additional conventions may be the length of the videos, which most often would be between 3 and 5 minutes. A promotional video must be aware of its target audience in order to effectively meet the needs of and capture the attention of the appropriate audience. Also, before starting the production the film maker must be conscious of creating the write atmosphere, to do this the purpose of the video must be clear. Is it selling a product, advertising a company or place, is it promoting a charity? All of these would require different approaches to promotion, a charity video would need to be more emotional and if the video should be requesting donations the persuasive techniques should be thought about. Whereas advertising a product would be more focussed on ensuring the audience knows everything that is great about the product. Other approaches may consider using humour as a promotional technique to capture an audience but again this is dependant upon what you are promoting and whether or not this would be appropriate.
Camden Promotional Video
This video is a property promotion the town of Camden in London. The video has been kept fairly basic and makes strong use of montage footage incorporating images of several points of interest from around the town, For example good places to eat and drink, attractions, rivers, markets etc. All of which have been filmed during fairly busy occasions, this gives the audience an impression of what that atmosphere is like around the city. This is vital for promotion of an area, as a good atmosphere will sell it to it audience. The video was produced to advertise the town for prospective buyers in the area, making clear its target audience. It was designed for the company website and aimed to achieve a design that link in with the website and company branding.
The montage images are intercut with 'CGI fly-through's', this adds to the stylised look the company aimed to achieved and also provided the audience with ideas for potential property design in the area. The video neglects to include and kind of interview or voice over and uses only non-diegteic sound of the track over the top of the visuals.
At both the end and the beginning of the video we see the company logo, this is a common convention of promotional videos, it allows the company to be advertised and the audience to know who made the video. If for example, the video was viewed on YouTube, the logo would give the audience additional information to follow up the information the got from the video if they are interested in the subject.
MCAC (Male Caner Awareness Campaign) Promotion Video
This particular video differs somewhat from the other videos I have chosen to look at, in the fact that it uses an element of humour to attract its target audience. Given that the the video is promoting MCAC (Male Cancer Awareness Campaign) it is clear that the main target audience would be males. From around the age of 18 and above due to its specific focus on testicular cancer. This bold video was shot by the well known photographer Rankin, famous for his fashion photography. The 1 minute 09 second video reached over 3 million hits on YouTube, suggesting there techniques worked to attract the attention of their audience. By using a well known page 3 model, young male attention is drawn to the video and therefore will sit and watch soon to realise what the video is actually promoting. The idea behind such a daring campaign video was to break the awkwardness of the subject, without detracted from it seriousness, hence the element of humour used, in this sense the video is much less conventional than most. Due to the fact that the video is a viral and will be found online, it can get away with being a little more daring than usual.
However, it still maintains some conventional methods, for example, the ending of the video (ADD SCREEN SHOT) shows up the logo of the charity, this is same way in which the video below shows the Apple logo at the end. Obviously, this advertises the company and ensures the viewer is fully of where of who is being promoted. We still have both diegetic and non-diegetic sound, we have the music in the background and the model speaking over the top. The model's speech is what informs the audience of the context, fulfilling the videos purpose, which is of course to inform and make aware their audience of cancer.
The Ark Animal Rescue Centre Promotional Video
This video is one that follows almost every convention of a typical promotional piece. The beginning includes an establishing shot of the area in which the centre is and introduces non-diegetic sound, this track continues throughout the video. At around four and half minutes, this video is a typical length for a video of this kind.

By using montage footage between each interview clip, the audience can gain a better idea of what animals they care for and the conditions of the animals enclosures etc. Another point to make would be that often the use of close ups of animals can bring out some degree of sympathy in the audience, encourage local people to volunteer at the centre perhaps. This would fulfil every aspect of purpose for this video, i.e. providing information about the centre with both images and interviews.
Apple I-pad Promo Video
The video below is promoting the latest apple I-pad. As we would expect from this video, throughout we see multiple shots of the product in use in many different situations, this emphasises its portability and wide range of uses. This allows the company to show the vast audience that the product may appeal to, in this case anyone from children to the elderly, students using it for work or using it for hobbies and leisure, the images show how the I-pad can hit the needs of everyone within the target audience.
 |
| This particular shot would appeal to families, again expanding the products target audience even further. |
This is something that the entirety of their vast audience for the product itself may not understand, limiting the audience of their video somewhat. This is also added to by the fact that this video is most likely going to be found online, i.e. the Apple website or YouTube etc, as opposed to somewhere such as a television advert which would make it much more accessible to a larger audience.
The voice over combined with the montage images of the product in use allow the video to fulfil its function of selling the new product. When selling a product a video must effectively discuss all of its top points, in the case of this video we also hear words such as 'redefine' (ADD MORE). By adding such positive words, the audience is led to believe that the product can add an element of this to their own lives, making tasks easier to carry out or otherwise more difficult tasks more accessible to the general public. This also sets the positive and optimistic tone that the video needs to effectively sell its product. (GIVE EGS) Not only do we see the product in use in 'real life' situations but we are shown shots of the product itself from several angles and close up shots of it being used, its touch screen and its camera etc. The shows the audience its supposed quality, again a persuasive device which is necessary when making a promotional video to sell a product.
 The video encompasses many promotional video conventions, one of the most clear being the short interview clips we see. Everything down to the framing of these shots is conventional of this medium. As you can see from this screen shot, the interviewee is placed to the right of the frame and the screen graphics, which tell the audience who he is and his role in the making of the product, are on the left. This is a very typical frame set up for an interview in such a video. The backdrop for this footage was kept very simply as white, this seems to reflect the product itself. Apple products have a very modern, simplistic finish and often are white, so everything down to the backdrop of their shots reflects the product they are selling, making this a very cleverly made video.
Jim Hickey Visit
Thursday 7th March 2013
Jim Hickey is a previous director of the Edinburgh Film Festival. In more recent years he his career his led him to produce promotional videos for counselling companies such as Relate. I have included one of his video below.
As our module focussed on the production of a promotional video, Jim Hickey kindly came in to talk us through how he works to make them and offered us some advice and tips on how to make the most of this opportunity to create such a production.
The main point he made about about interview techniques. This is found of particular use having not shot a formal interview before. He made the point that people can have a habit of veering off topic so guiding questions are helpful to avoid this. However, if this isn't completely successful careful editing will have to be thought through in order to pull the most useful out of the footage as promotional videos need to get to the point as efficiently as possible.
He also pointed out that you must think about your surroundings when conducting an interview due to sounds that may be in the surrounding area, for example if you opt to shoot outside you have to be aware of traffic sounds or birds etc to ensure that they do not drown out the talking. He mentioned that you have to be prepared to ask the same question 2 or 3 times to get a clear answer. However, telling the interviewee that they went off topic isn't always best, particularly if they are not used to being on camera, you do not want to knock any confidence, simply saying 'that's great, lets do one more' is sufficient.
As he was aware of our current module, he made a point of asking what we each wanted to do for our own production, then proceeded to offer individual advice based on the context of our ideas. In my case, I'd mentioned that I was waiting on an e-mail back from a local wildlife sanctuary as I felt this could create a nice promotional video. He suggested that getting outside with animals, and for the interviews would make for a nice piece as often such films can be kept to interior shots. He suggested trying to go out for the day with the workers, following 'a day in life of..', this could lead to following the story of a particular animal, though this may be more time consuming that other ideas.
Production Preperation
For my own promotional video I have been in contact with a local wildlife sanctuary, run by Geoff Grewcock. I first e-mailed them but when I heard nothing back, after about a week, I decided to call them up. My first meeting has been arranged for 10am Friday 15th March.
 |
| Screen shot of initial e-mail |
After calling and finding that the owner was happy to work with me on my project, I carried out some research into what exactly it is the sanctuary does, this gives me good background on the sanctuary. I can then come up with a few initial ideas to present when I go for my meeting. I began by looking at the website, I found from the site that they have a few animals that remain there on a permanent basis, possibly meaning I would have the same animals to shoot on each visit. The animals they take in ranges from foxes to birds to hedgehogs and rabbits. I was then led to find that the red fox, Roxy, who has taken up permeant residence, was featured on BBC1's 'Autumn Watch Unsprung' and Channel 4's 'Foxes Live: Wild in the City'.
http://www.nuneatonwildlife.co.uk

Below is a video from there YouTube page that focuses mostly on the resident fox, Roxy. By looking at this I can see what sort of videos they have had made before and can take this on board when creating my own ideas, ensuring I do not create anything too similar.
For my first meeting at the Wildlife Sanctuary I have used google maps to ensure I knew exactly where I was going. Below is a screen shot of the map with directions from the college to the sanctuary.
 |
| A shot of the sanctuary from google street view. |

Preparation for meeting (15th March):
This meeting is mostly just to inform the client of what my project intends to achieve and to gain some idea of whether he has any specific ideas that I can ensure are in the final piece. I will also be able to plan a schedule of when the product should be finished by (should my client give me a deadline) and plan what days and times filming can take place. A list of questions and discussion points will be made up so ensure nothing that needs to be covered will be missed. I will be taking with me a recording device in order to document the meeting, this I can then refer to any time afterwards. I would also like to take a camera to the meeting so that I can take some stills of the location and around the sanitary. This will help me when writing a production log and drawing up a storyboard.
I would also like to carry out some health and safety checks during my first visit, this will allow me to correctly prepare for future visits. A release form must also be signed, providing me the permission from the owner and any other staff members or volunteers that may be on the film.
Questionnaires and release forms have been written up, hard copies will be available to view.
Equipment and Other necessary items to take:
Camera - Canon D600 with SD card.
Recording device
Release Forms
Health and safety forms
Diary - to work out a filming schedule
Hard copy of risk assessment form available.
Friday 15th March
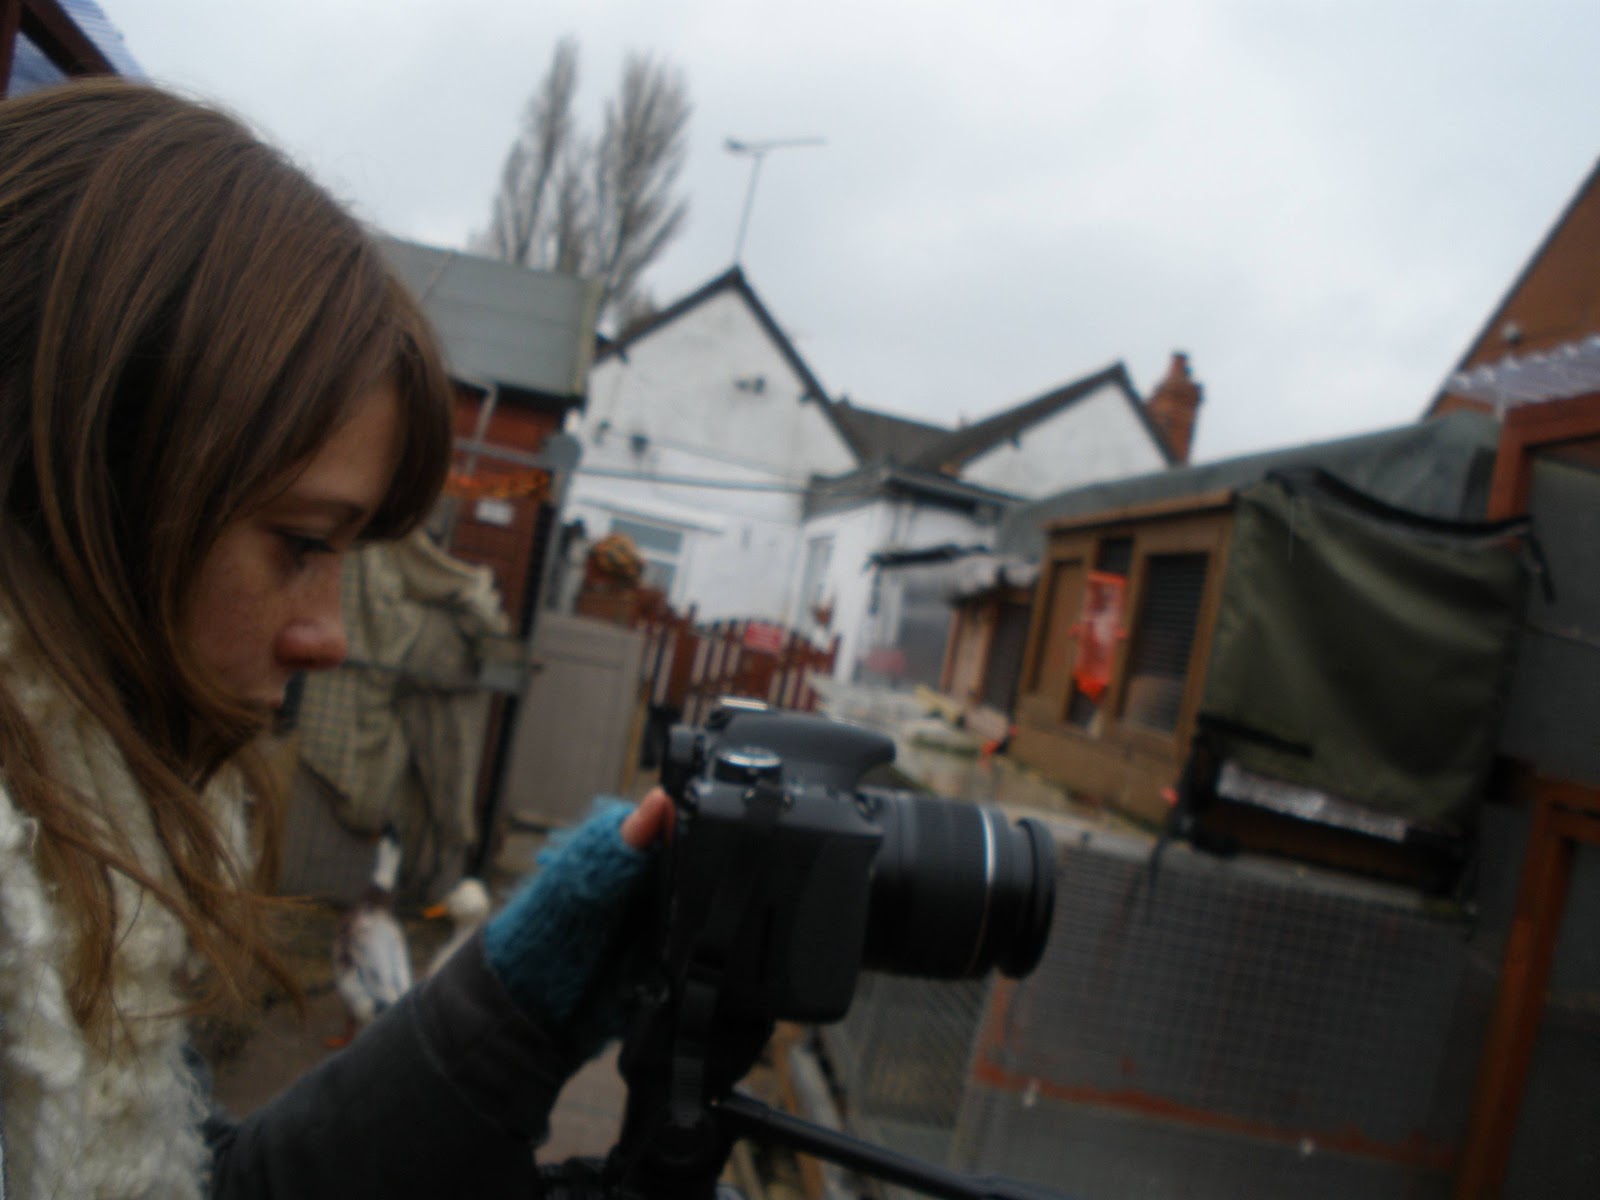
During my first visit to the Wildlife Sanctuary I spoke to the owner about any ideas he may have for a promotional video (please see hard copy of questionnaire). I also, had a walk around getting to know the space and took photos, this will help me when planning for the first shoot (on Tuesday the 19th March). I was also able to get an idea of what health and safety precautions would need to be taken when on the shoot.


Tuesday 19th March: First Filming Day
Planning:
Equipment - Canon D600 (SD card)
Tripod
Recording Equipment for interview
Umbrella (filming outdoors so weather conditions must be considered)
Health and Safety considerations
The main point of consideration regarding health and safety during this shoot would be to ensure that responsible behaviour is carried around the animals. Recording equipment will be I would like to be able to be around the animals I intend on filming for a few minutes before I introduce to the equipment, this will give them opportunity to get used to me and trust me, avoiding any unnecessary distress. Correct safety wear should be worn if required, i.e. gloves when handling certain animals. As you can see from the images above and below, the sanctuary has put up safety signs around the area, it is vital that these are to be followed ensuring the safety of myself, other staff members and the animals.
Other things to look out for are the correct procedure when setting up the equipment avoiding damages. This includes covering the camera etc should it being raining as I will predominantly be filming outdoors.
Legal Requirements
When filming in a location such as the wildlife sanctuary I have chosen it is important to ensure all the correct procedures are taken before beginning filming. In preparation for my shoot I have got copies of permission forms for anyone that may be included in the footage and also a location release form that will be signed by the manager. All necessary forms can be found as a hard copy if required.
Problems On Shoot:
I encountered a small problem with my tripod as i did not check it before going out to the shoot, this meant i was unable able to use it at all during my time there. Though this did not prevent me from filming, it did mean that much of footage was not as steady as I would have liked it to be.
Risk Assessment form available in hard copy.
Another problem I came across was with the sound equipment, though I had been shown how to use it this was my first time putting it into practice, After I had set it up I did a test recording to ensure it was set up correctly but found it was only picking u background sound and not any speech etc. After trying to set it up again I found I had the same problem. I decided that I would need to take it to the technician to see where I was going wrong and record an interview at a later date.
Wednesday 20th March: Filming Day 2
As I had a problem with my tripod on the first shoot, my footage was not as stable as i would have liked, I amended the problem and returned for a second shoot in order to capture some steadier footage.
Equipment - Canon D600 (SD card)
Tripod
Sound recording Equipment for interview
Umbrella (filming outdoors so weather conditions must be considered)
As I was shooting at the same location under very similar condition, the same health and safety and legal requirements apply to this shoot (please see above).


Examples of some of my footage:
Untitled from Sammie Masters-Hopkins on Vimeo.
Untitled from Sammie Masters-Hopkins on Vimeo.
As I have been uncertain of what direction to take my video in, I decided upon creating a video that would raise awareness about the sanctuary in order to persuade people to donate. Below I have included an example of something similar.
Structurally, this video is made up of montage footage, showing animals that need the help of the charity. Included with the voice over of David Tennant (a likeable Scottish figure with a recognisable voice) and also screen graphics informing its audience of what the charity does and how best to donate.
Although the majority of the videos that I have looked at with similar context have images of animals looking vulnerable etc, I would like to take mine in a slightly different direction, showing the animals in the sanctuary, looking 'at home'. This will show the audience how well the sanctuary cares for the animals and how comfortable the animals are living there, putting a much more positive spin on the usual donation appeal videos.
Editing
Video tutorials for premiere pro:
I wanted to try adding a freeze frame into my video, to see if would add anything to my video. However, having never done this on Adobe Premiere Pro I decided to find a YouTube tutorial on the subject. this proved to be very useful and explained clearly how to create a freeze frame in your video.

Sound Recording
I wanted to try using some of the sounds that naturally occurred around the sanctuary, i.e. animal sounds, I tried this through the internal mic on the Canon i used to shoot the image. The most clear sound were the that of the birds they keep at the sanctuary.
When adding this to my video in during the editing process, I unlinked it from the image to use it at any point in the video. Though the sounds worked with the images, they didn't fit in right with the feel of this particular video and therefore i opted not to use it in my final piece.
sound recording from Sammie Masters-Hopkins on Vimeo.
Music Selection:
In selecting the music to go over my footage, I had to find something that would add to the tone of the video. As I am producing a video that aims to raise awareness of the sanctuary and possible encourage donations, I need a track that would emphasise the emotional tone of the video. Conventionally videos such as this use music that play up to the emotions, they 'tug on the heart strings' of the viewers.
It was mentioned to me that a composer named Max Richter often composed music for such videos, I went and looked up his work and eventually decided on a piece he had written that I feel would suit my video. Of course should this video ever be used publicly, using his music would pose legal issues and I would need to look into getting permission for it to be used or have an original piece composed.
Final Video:
wildlife sanctuary video from Sammie Masters-Hopkins on Vimeo.
Production Evaluation
In the time I have spent on this project, I have came to
realise how much different film-making can be when working towards a client
brief. Promotional video making is very different from anything I have created
in the past and I believe that this lack of experience of this style has been
noticeable through this project. It has however, lead me through new learning
curves that I would not have otherwise known.
With regards to the planning stages of my production,
initially I followed the brief criteria and asked my client what they would
want from a promotional video. As the clinet made no specific requests, I had a
large amount of creative control. Although this would appear to be a great
opportunity, which of course it was, I also feel it was something of a
hindrance, with no direction implied by the client I had to come up with an
idea right from scratch which would involve researching further detail about
the sanctuary to gain a feel of what might be the most appropriate kind of
video.
The actual preparation for each shoot was well planned and
organised, I had set days for filming, booked out equipment and all the
necessary paper work. However, one major thing I missed out was a list of shots
that I would have liked to get or a production log. This is a point that I will
take from this process to ensure I do it in future. I felt this caused my
problems when it came to finally editing the piece as my footage appeared to be
quite random, making it more difficult to figure out a structure that my video could
take. This lead to additional
shoots, taking up time I could have
spent editing. Though it did not completely ruin my project, as I managed to
work around the issue, it is something that looking back I should done to avoid
the problems in the first place.
After having completed 2 days filming I reviewed my footage
and at this point began drawing up some basic storyboards (hard-copies
available). This gave a good starting point to begin editing. I was happy with
the footage I had shot, I felt the framing/lighting/focus etc turned out well. For
the most part I shot with a wide aperture, to maintain focus on the animal
within the frame. I wanted the animal to be the most prominent image within the
shot and felt a wide aperture could achieve this. Before beginning filming I
did a a small amount of research on wildlife photography and filming as it was
a field I had not yet experimented with. During this research one point that
stood out to me was to ensure the animals eyes are always in perfect focus, this
draws the audience to the animal. I found especially helpful during my filming
and believe it proved to be effective and helped with the quality of my
footage. When it came to getting the
camera up, I had a general idea of how I wanted to frame the animals. I made
sure I always had the ‘grid’ in mind when finding the right position for the
camera. Often I chose to frame the animal to one side of the frame, this was
due to the fact in my early plans I had the idea of using screen graphics, the
space next to the animal on the screen would allow room for the graphics.
However, after trying this in editing, the background proved to be too busy to
make the writing clear so I opted to put them onto separate boards. I do still
feel, however, that the framing of the shots works well, in particular with the
close up shots. This was helped by the fact that the animals did not seem at
all phased by the presence of the equipment and continued to be natural.
Another aspect that helped the quality of the footage was the natural lighting.
I shot mostly outdoors, the days were generally overcast which provided a great
even light, no glare from sun etc.
Even with my small issue regarding the tripod (see blog) the
footage still turned out well with some careful and steady hand-held work.
When it came to the sound for my film, I wanted to use the
sound from the internal mic, to get the sounds of the animals, giving my film
an authentic natural feel. When reviewing the footage I felt the sounds were
not clear enough to use, due to wind and background talking etc. I
attempted recording the sounds on an external mic and this turned out far
better. The sounds mostly include birds (see blog for example of external
recording). I also wanted to experiment with voice overs, to see what effect
that would have on my video, so again using an external mic, I set up and
recorded a voice over without any images.
In my final piece, I wanted to use a piece of music by Max
Richter. Although this proved to be effective, it does throw up some legal
issues, due to the fact it is not a track I had purposefully created for my
film. Should the sanctuary choose to use this video publicly (i.e. on their
website) permission would be required from the composer and producers.
As I began to edit the footage together I realised more
footage would be necessary to fill in a few gaps and prevent the images from
becoming repetitive. In my storyboards, I opted to try creating a series of
short promotional videos, however, as they came together I was obvious that
this would not make the most of the footage I had, I then merged the footage
together to create one longer piece. Despite this change, I maintained a very
similar structure so as to keep to my original plan as much as I could. I experimented
with shooting litter and traffic as a way to show causes of animals injury,
however, was unhappy with the footage, I felt it did not fit in with footage I
already had a felt very disconnected from the rest of the film. Another
experiment I tried out was the use of freeze frames. This proved to be far more
successful. I used a YouTube tutorial to find out how to create a freeze frame
which was incredible useful.
Throughout this editing process I felt that my lack of
direction when I began filming was my major issue, it meant that to begin with
my footage was not connected, therefore I found it difficult to structure, this
is the biggest lesson I have taken from this project. However, with a few small
set backs, a little more time than originally anticipated, I feel I got around
my issues and created a fairly successful piece.
Client Feedback Evaluation
After showing my final video to my client, I asked them to give me some feedback. I.e. was it what they expected, did they like it, and did they feel it was ft for its purpose.
As the client gave me no specific criteria in our first meeting regarding what he would like to see from the video, other than he fact he would like as many of his animals in the video as possible, I had a lot of creative control when making the video. As I mentioned in my own critical evaluation (above) this proved to make the process more difficult than anticipated. Without any direction I found it difficult to structure my piece, once deciding on its specific purpose this process became easier. However, after showing my client it became clear that this was not what they were expecting. I had taken the direction of raising awareness of the sanctuary and encouraging donations, though they did not dislike it, it is not something that had in mind when I began working with them. As I had watched their videos on their YouTube page i realised they had not got a promotional video of this kind and so saw the opportunity to fill the gap. During the discussion about my final piece, I found that they were happy with the coverage of the animals I had included in the 3 minute screen time. This was something I myself was happy with as i wanted to included as many as i could as the animals are of course the focus of the sanctuary and therefore the focus of my video. One Point that was brought up was the fact that i had introduced the Roe Deer, Bramble by name and yet had not done so with the other animals, this is something that my client would have liked to see be done. He felt it would personalise the video more, especially as one animal had been named the others should have been too. I agreed with this comment, it would have added a continuity to my video that it is otherwise lacking. With regard to the purpose of the video, my client felt it would achieve its aim, by raising awareness of the sanctuary. Providing the sanctuary logo and contact details were a noted good point, providing the audience with a good amount of information should they wish to research further into the sanctuary.
No comments:
Post a Comment